
The Art of Skin Mapping: How to Customize Your Skincare Routine for Targeted Results


What Is Skin Mapping?
Do you use the same serum or moisturizer on your entire face? While that is standard practice in many households, your skin doesn’t actually have the same needs everywhere. This is where skin mapping comes into play.
Skin mapping is an advanced, highly customized skincare technique where you treat specific zones of your face with active ingredients and products designed precisely to address that specific area’s unique concerns. Instead of treating your face as a single uniform surface, skin mapping recognizes that your complexion is dynamic and complex.
Why Your Skin Needs a Multi-Zone Approach
Your face is exposed to varying levels of friction, oil production, and environmental stress. For example, your forehead might be prone to fine lines and expression wrinkles, while your cheeks feel dry and tight, and your under-eye area battles dark circles or puffiness.
By layering or placing targeted products across different facial zones, you maximize the efficiency of your skincare routine. Multi-masking and zone-specific treatments ensure that powerful active ingredients go exactly where they are needed most without overwhelming areas that require different care.
How to Start Your Face Map With Hydrogel Patches
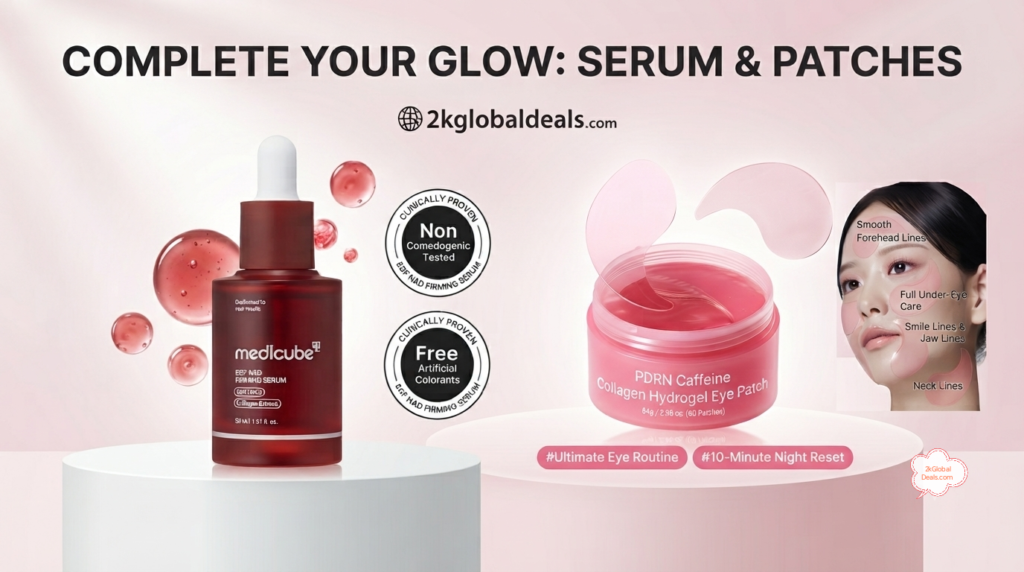
Using targeted hydrogel patches is the easiest and most effective way to start skin mapping at home. Hydrogel technology allows active ingredients to deliver deep hydration and continuous treatment directly into the skin barrier.
Here is the breakdown of the most popular targeted patches and how to use them in your routine:
- Collagen Patches: Best for wrinkle-prone areas like the forehead and smile lines to maintain elasticity, firmness, and bounce.

- PDRN (Polydeoxyribonucleotide) Patches: Excellent for areas needing deep cellular rejuvenation, barrier repair, and intensive plumping.
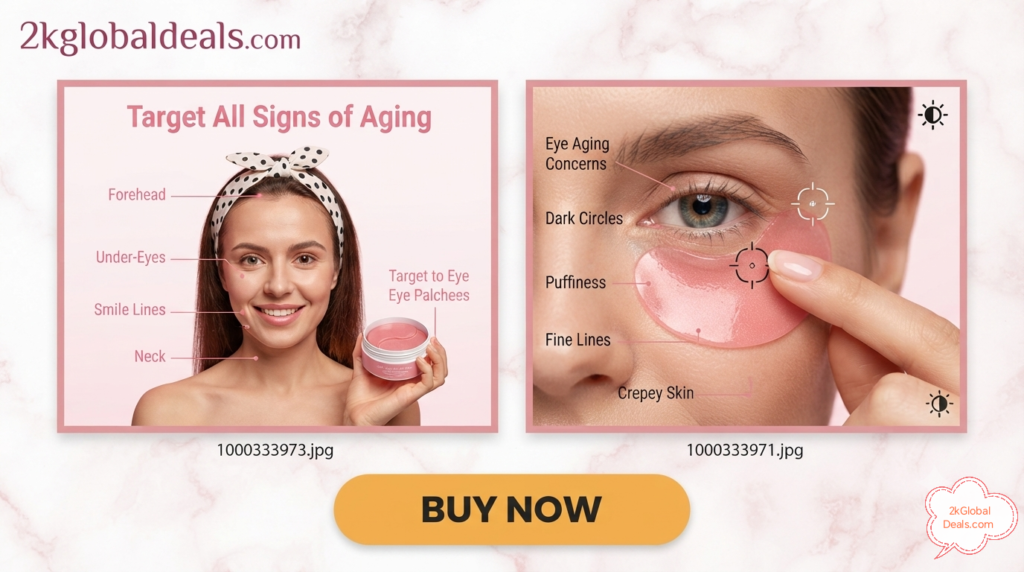
- Glutathione Patches: Your ultimate go-to for brightening dark circles, hyperpigmentation, or uneven skin tone around the mouth and under-eyes.

Step-by-Step Guide to Customizing Your Routine
Implementing a skin mapping routine takes only a few extra minutes, but yields professional-level results. Follow these simple steps:
- Analyze Your Zones: Look in the mirror and identify your current skin concerns zone-by-zone (e.g., dry cheeks, oily T-zone, fine lines around the eyes).
- Cleanse Thoroughly: Start with a clean, dry face free of excess oils or makeup residue.
- Apply Targeted Treatments: Place your hydrogel patches (Collagen, PDRN, or Glutathione) on their respective designated zones.
- Lock It In: Leave patches on for the recommended time (usually 15 to 20 minutes), gently pat in any remaining essence, and seal everything with your favorite moisturizer.
- Layer Serums & Moisturizers: Apply lightweight hydration to dry zones and oil-balancing formulas to congested zones.
Can I skin map every day?
Yes, gentle hydration and targeted patches like collagen or glutathione can be used daily or a few times a week depending on your skin’s tolerance and product instructions.
Is skin mapping suitable for sensitive skin?
Absolutely. In fact, skin mapping is great for sensitive skin because it prevents harsh active ingredients from being applied to delicate areas where they aren’t needed.